By Donny Wells
•
November 1, 2024
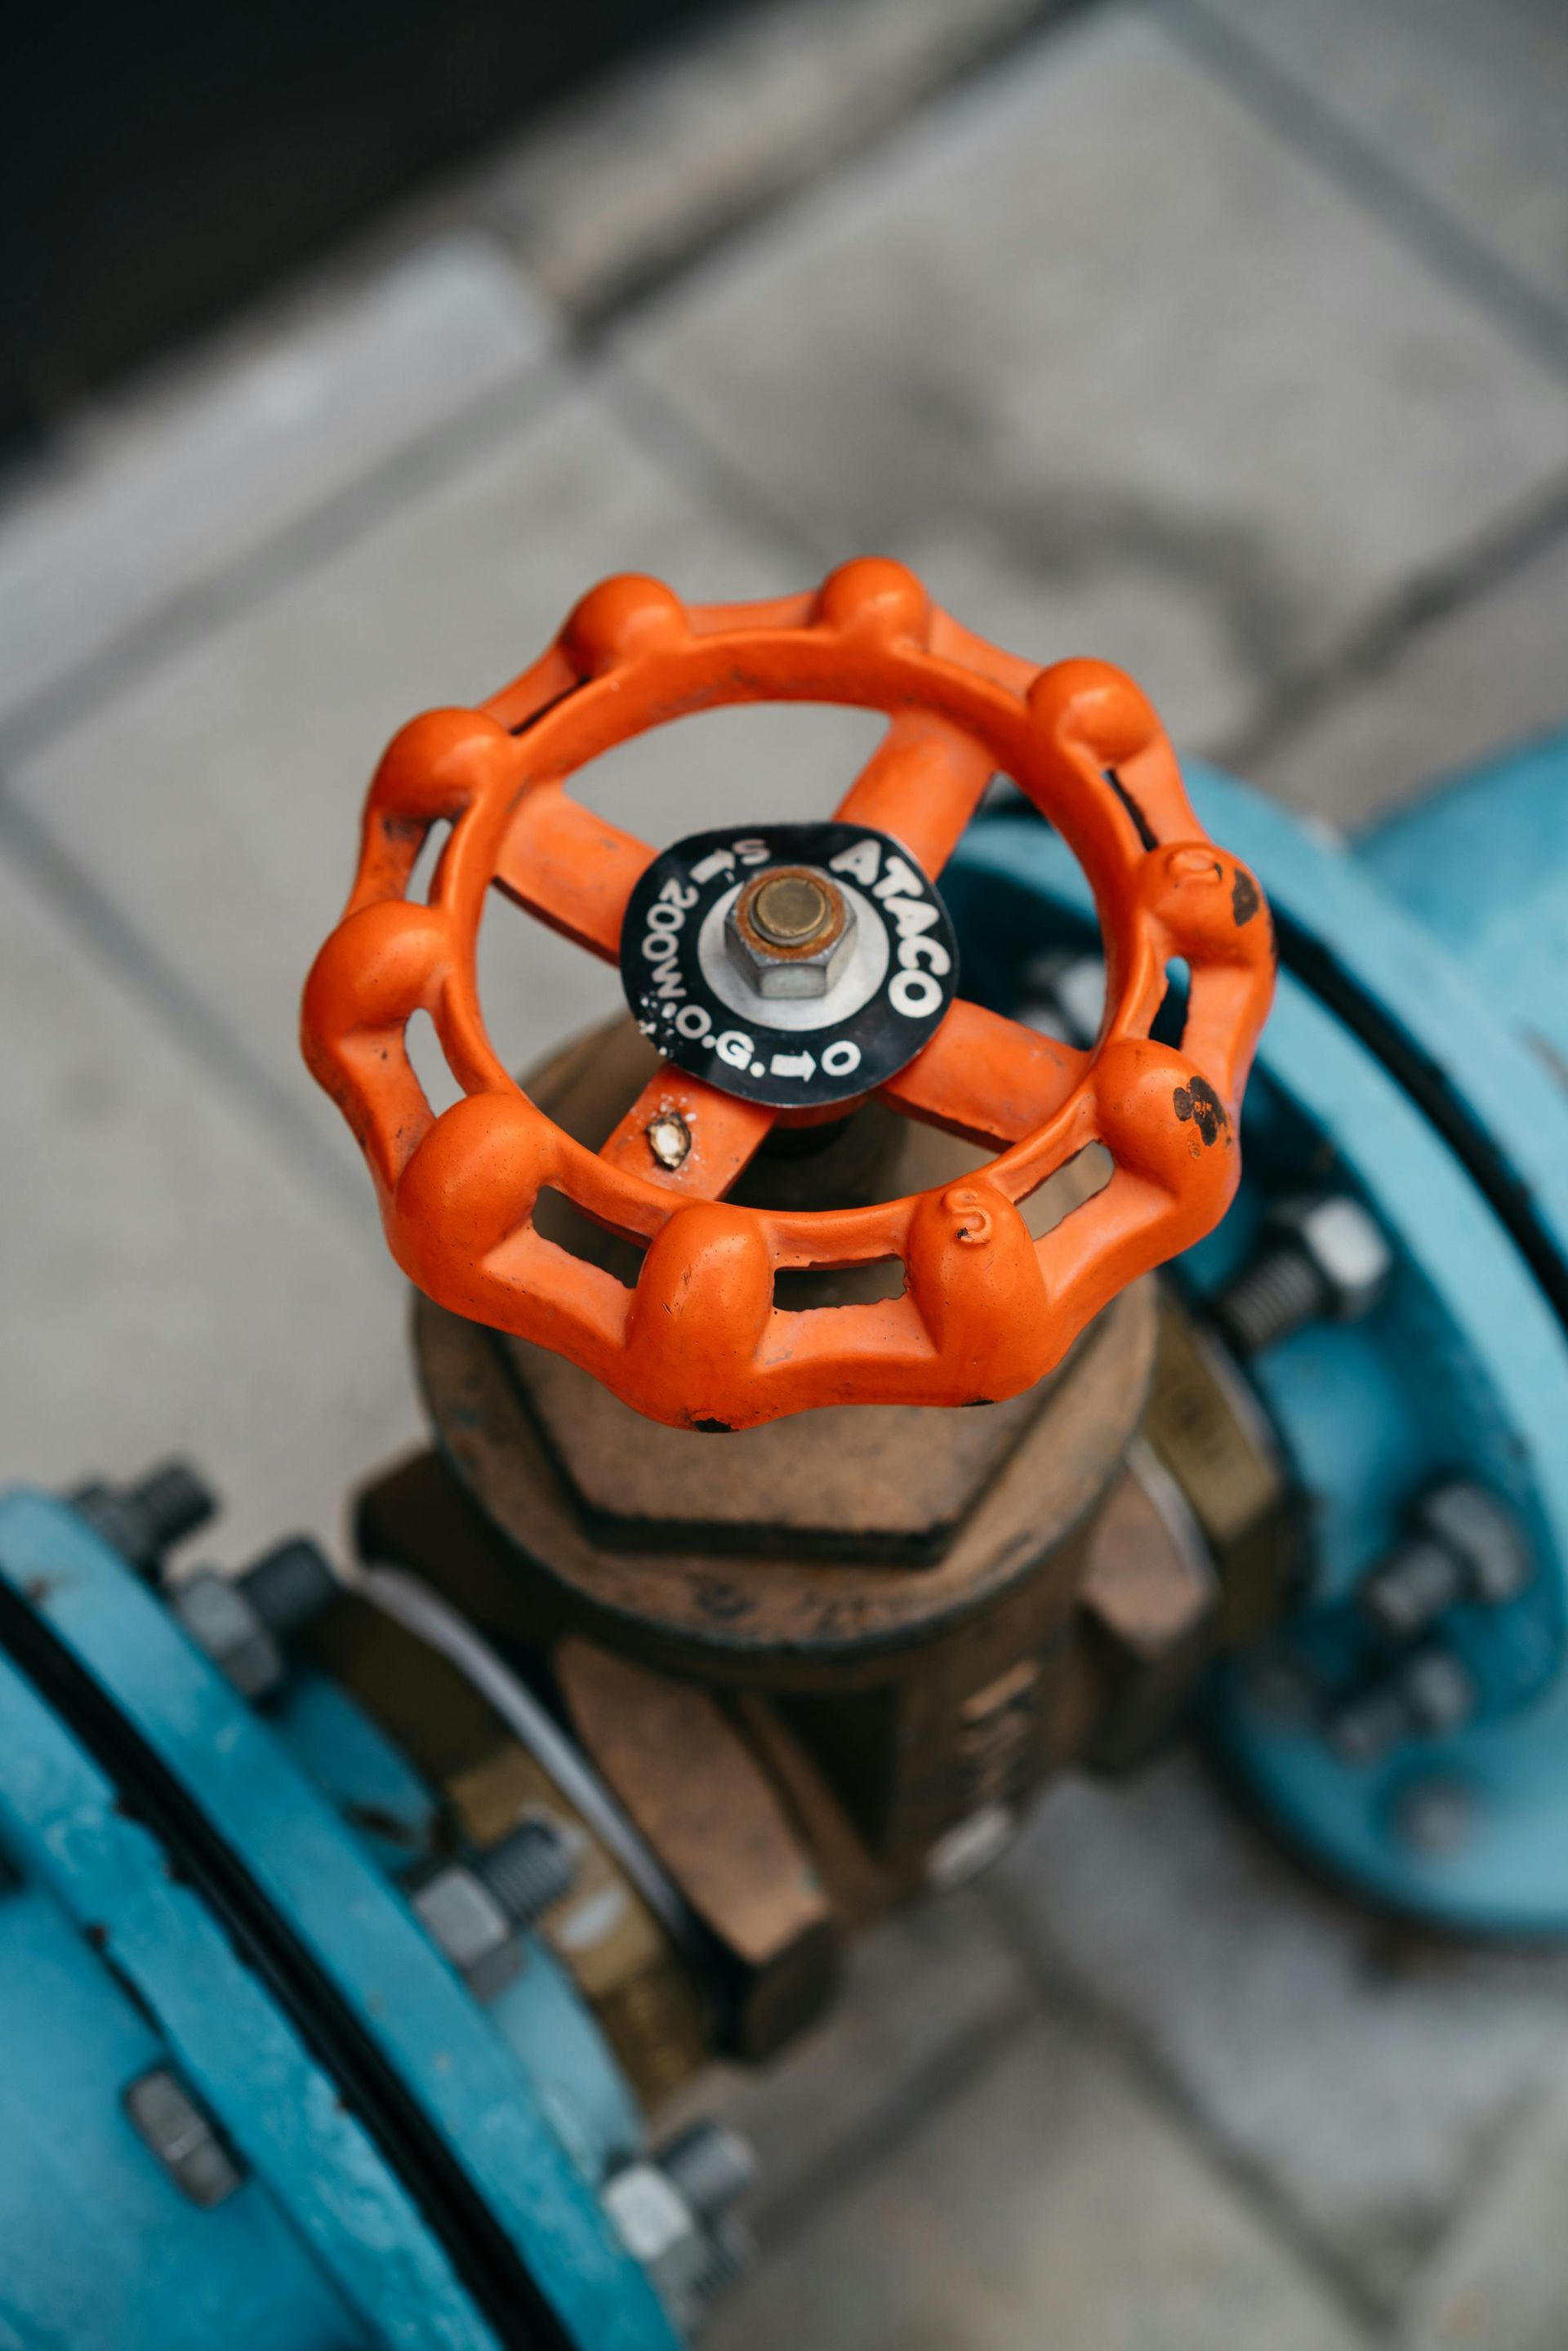
Winter brings the beauty of snow and the warmth of cozy nights by the fire, but it also comes with the risk of frozen pipes. At Fly Plumbing, we know that dealing with frozen pipes can be a nightmare for homeowners. If you find yourself in this situation, understanding how to repair frozen pipes quickly and effectively can save you from further damage and costly repairs. In this blog post, we’ll cover everything you need to know about frozen pipe repair, including how to identify the issue, DIY methods, and when to call in the professionals. Understanding Frozen Pipes Frozen pipes occur when the water inside them freezes due to extremely low temperatures. As the water freezes, it expands, creating pressure within the pipe. If the pressure becomes too great, the pipe can crack or burst, leading to leaks once the ice thaws. Typically, pipes located in unheated areas, such as basements, attics, and exterior walls, are most susceptible to freezing. Signs of Frozen Pipes Recognizing the signs of frozen pipes early can prevent a plumbing disaster: No Water Flow: If you turn on a faucet and nothing comes out, the pipe may be frozen. Frost or Ice on Pipes: Visible frost or ice on the exterior of the pipe indicates freezing. Unusual Sounds: You may hear strange sounds, like gurgling or banging, in your plumbing system as water tries to flow through a frozen pipe. Cold Spots: If you notice that certain areas of your home are significantly colder, this may point to frozen pipes in those locations. Steps for Repairing Frozen Pipes If you suspect that you have frozen pipes, follow these steps to address the issue safely and effectively. 1. Locate the Frozen Pipe The first step is to identify where the frozen pipe is located. Check for the signs mentioned earlier and inspect areas that are prone to freezing. Common areas include: Basements and crawl spaces Exterior walls Unheated attics Near windows and doors 2. Shut Off the Water Supply Before attempting any repairs, shut off the water supply to the affected area. This will prevent flooding in case the pipe bursts during the thawing process. Locate the main shut-off valve and turn it off, and then open faucets to relieve any remaining pressure in the system. 3. Apply Heat to the Frozen Pipe There are several methods to thaw a frozen pipe: Hair Dryer: Use a hair dryer on a low setting to apply heat directly to the frozen section of the pipe. Move it back and forth along the pipe to distribute the heat evenly. Heating Pads: Wrap heating pads around the frozen pipe, making sure to check frequently to avoid overheating the pipe. Space Heater: If the pipe is in an enclosed area, such as a cabinet, placing a space heater nearby can help raise the temperature in the space. Always monitor the heater to ensure safety. Important: Never use an open flame, such as a blowtorch or lighter, to thaw a pipe. This can cause the pipe to crack and result in a fire hazard. 4. Keep the Faucet Open As you apply heat to the frozen pipe, keep the faucet open. This allows water to flow through once the ice begins to melt. You may hear a gurgling sound as the water starts to move. This is a good sign that the pipe is thawing. 5. Inspect for Damage Once the pipe has thawed and water begins to flow, check for any leaks or cracks in the pipe. Look closely at the areas that were frozen. If you see any signs of damage, it’s crucial to address it immediately to prevent further issues. Temporary Repairs for Damaged Pipes If you discover that the pipe has burst or has cracks, here are some temporary repair methods until you can get professional help: Pipe Clamps or Rubber Sleeves: For small cracks, you can use pipe clamps or wrap the damaged area with a piece of rubber and secure it with duct tape. This can provide a temporary seal until a permanent repair can be made. Epoxy Putty: This can be applied to small cracks to stop leaks temporarily. Follow the manufacturer’s instructions for application and curing time. When to Call a Professional While some homeowners may feel comfortable handling minor frozen pipe repairs themselves, there are situations where it’s best to call a professional plumber: Multiple Frozen Pipes: If several pipes are frozen, this could indicate a larger issue with your plumbing system. Significant Damage: If you see substantial cracks or evidence of water damage, it’s essential to have a professional assess the situation. Inaccessible Pipes: If the frozen pipe is located in a difficult-to-reach area or behind walls, a professional plumber has the tools and expertise to handle the repair safely. Preventing Future Frozen Pipes After you’ve dealt with the immediate issue, it’s wise to take steps to prevent frozen pipes in the future: Insulate Pipes: Use foam insulation sleeves for pipes in unheated areas. Seal Gaps: Seal any gaps around windows, doors, and where pipes enter your home to keep cold air out. Keep Heat On: Maintain a consistent temperature in your home, especially during extreme cold spells. Let Faucets Drip: Allowing a small trickle of water to run through faucets can prevent freezing during severe cold. Conclusion Dealing with frozen pipes can be stressful, but knowing how to handle the situation can make all the difference. At Fly Plumbing, we’re here to help you navigate frozen pipe repairs and ensure your plumbing system remains in good working order. If you have any concerns about frozen pipes or need professional assistance, don’t hesitate to reach out. Stay warm and safe this winter!